How to Keep Your Preserved Moss Wall Art Dust-Free
Why Dust Matters for Preserved Moss
Preserved moss wall art brings a slice of nature indoors without the upkeep of living plants. The moss has been treated to stay soft and green for years, but it still collects dust like any other surface in your home. Dust settles into the texture of the moss, dulls its color, and can even trap moisture if left too long. A regular, gentle cleaning routine keeps the piece looking fresh and extends its life.
Unlike live plants, preserved moss does not grow or need water. That makes it easier to maintain, but it also means the moss cannot shed dust on its own. Over time, a layer of fine particles can make the piece look tired. The good news is that cleaning a preserved moss wall piece is simple and takes only a few minutes. The key is using the right tools and techniques so you do not damage the delicate surface.
What You Will Need
Before you start, gather a few basic items. Most of them are probably already in your home. You do not need any special chemicals or expensive equipment.
- A soft brush with natural or synthetic bristles. A clean makeup brush, a paintbrush with soft bristles, or a dedicated dusting brush works well.
- A handheld vacuum with a soft brush attachment. If your vacuum has adjustable suction, set it to low.
- A microfiber cloth or a lint-free cloth for any spots that need extra attention.
- A can of compressed air (optional) for hard-to-reach crevices.
Stay away from feather dusters. They can snag the moss and leave behind small fibers. Also avoid spray cleaners, water, or any liquid. Preserved moss is not waterproof, and moisture can cause it to discolor or grow mold.
Step 1: Inspect the Piece First
Take a close look at your preserved moss wall art before you touch it. Check for any loose pieces of moss, dried leaves, or small debris that might have fallen onto the surface. If you see any loose bits, gently pick them off by hand or use the brush to flick them away. This step prevents you from grinding loose material into the moss during cleaning.
Look also at the backing material. Some moss pieces are mounted on wood, others on felt or fabric. The backing may have its own dust or cobwebs. You will clean that separately, but it helps to know what you are dealing with.

Step 2: Gentle Dry Dusting
The main cleaning method for preserved moss is dry dusting. Hold the soft brush at a slight angle and lightly sweep across the surface of the moss. Use short, gentle strokes in one direction. Do not press hard. The idea is to lift dust off the top layer without pushing it deeper into the moss fibers.
Work from the top of the piece downward. That way, dust that falls will move toward areas you have not yet cleaned. Overlap your strokes slightly so you do not miss any spots. Pay extra attention to the edges and any crevices where the moss meets the frame or backing. Dust likes to gather there.
If your brush picks up a lot of dust, tap it against your hand or a waste bin to knock the dust loose before continuing. A clean brush works better.
Step 3: Vacuum With Care
After brushing, a quick pass with a vacuum removes the dust that the brush loosened but did not capture. Fit the vacuum with a soft brush attachment. Turn the suction to its lowest setting if you have that option. High suction can pull pieces of moss off the backing or distort the shape of the moss.
Hold the nozzle about an inch above the surface of the moss. Let the bristles of the attachment do the work. Move the vacuum slowly across the piece, again from top to bottom. Do not drag the attachment across the moss. Instead, hover and let the airflow lift the dust.
For pieces mounted on a wall, you may need to hold the vacuum with one hand and support the piece with the other. If the piece is large or heavy, consider taking it down and laying it flat on a clean surface. That gives you better control and reduces the risk of dropping it.
Step 4: Reach Tight Spots
Some areas of a preserved moss wall piece are hard to reach with a brush or vacuum. Small gaps between clumps of moss, corners of the frame, and areas near the edge of the backing can trap dust. For these, a can of compressed air is useful. Give the can a quick test on a different surface first to make sure the stream is not too strong. Then direct short bursts of air into the tight spots. The air will blow dust out, and you can vacuum it up afterward.
If you do not have compressed air, a straw can work. Put your mouth on one end and blow gently through the other end, aiming the stream at the dusty area. Just be careful not to spit or breathe moisture onto the moss. Keep your distance from the surface.
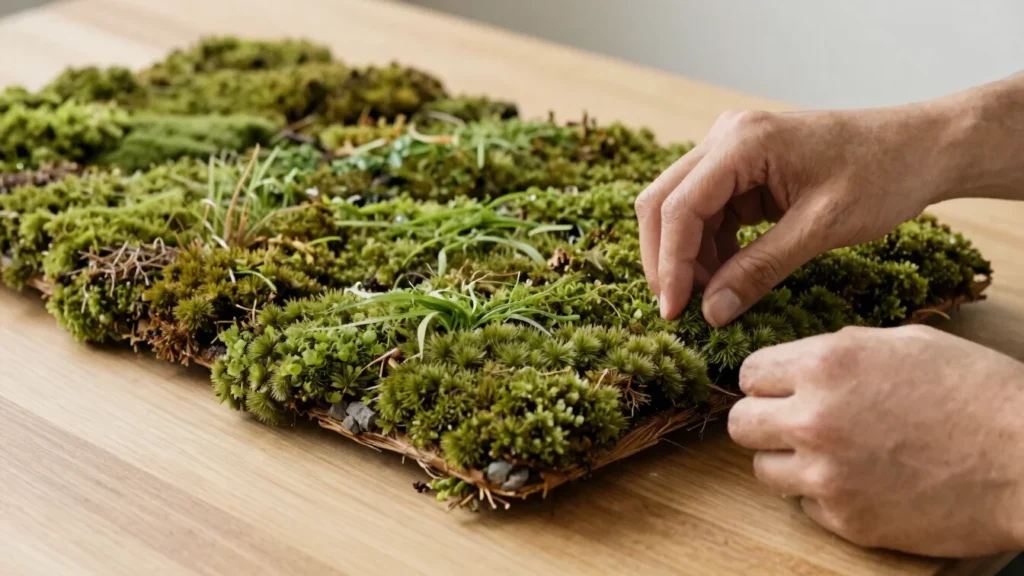
Step 5: Wipe the Frame and Backing
Once the moss itself is clean, turn your attention to the frame and the backing. Use a dry microfiber cloth to wipe the frame, the edges, and any visible backing material. If there is stubborn dust, you can slightly dampen the cloth with water, but wring it out well. Do not let any moisture touch the moss itself. A damp cloth can attract and hold dust better than a dry one for the frame, but keep it away from the preserved moss.
For glass-fronted pieces, use a glass cleaner on the cloth. Spray the cleaner onto the cloth, never onto the glass or the frame. Wipe the glass gently to remove fingerprints and dust. Again, avoid contact with the moss.
How Often to Clean
How frequently you need to clean depends on your indoor environment. Homes with pets, open windows, or forced-air heating tend to have more airborne dust. In such settings, a light dusting every two to four weeks is a good habit. A deeper clean with the vacuum can happen every couple of months.
In a low-dust room with stable humidity and minimal airflow, you might only need to clean the piece every few months. The best approach is to check it regularly. If you see a visible layer of dust or the colors look muted, it is time for a clean.
What to Avoid
Preserved moss is sturdy but not indestructible. A few common mistakes can shorten its life. Do not use water, steam, or any liquid cleaner on the moss. The preservation process relies on the moss staying dry. Moisture can cause the color to run, the moss to become brittle, or mold to grow.
Do not use a hairdryer, heat gun, or any source of direct heat to dry the moss or blow dust off. Heat can dry out the preserving agents and cause the moss to shrink or turn brown.
Do not use a stiff brush, a scrub pad, or anything abrasive. The moss surface is soft and can tear or flatten under rough treatment. Always use the gentlest tool that gets the job done.
Do not hang the piece in direct sunlight or near a heating vent. Sunlight fades the color of preserved moss over time, and heat speeds up drying. An indoor environment with moderate, stable conditions is best for long lasting moss artwork.

When to Call a Professional
If your preserved moss wall piece has become heavily soiled, stained, or if the moss is falling off in large sections, a DIY cleaning may not be enough. In that case, reach out to the maker or a professional who specializes in preserved moss art. They can assess the damage and recommend a restoration approach. Do not try to reglue or repaint the moss yourself unless you know exactly what adhesives and dyes are safe. The wrong product can ruin the piece.
For everyday maintenance, though, you have all the skills you need. A few minutes of gentle care every few weeks keeps the piece looking as good as the day you brought it home. Regular cleaning also helps the moss hold its shape and color, contributing to a long lasting moss artwork that stays vibrant for years.
Final Practical Tips
Place your preserved moss wall art away from drafts, air conditioning vents, and open windows. Airborne dust travels on air currents, and a piece in a high-traffic area will collect dust faster. A spot in a low-traffic part of the room, out of direct sunlight, is ideal.
If you have multiple preserved moss pieces, rotate your cleaning schedule so you do not have to do them all at once. A quick weekly check of each piece helps you catch dust buildup early. With consistent, gentle care, your preserved moss wall art will remain a striking feature in your home without much effort.